There’s so much to this cycling lark, it seems. Especially when the inclement Great British Winter kicks in, with its rain and wind sending you perilously close to a very different path than the one you may actually have chosen, i.e. upright on the road. Not in a ditch/gutter/under the wheels of a bus. Over the last couple of weeks we’ve been giving you handy hints on how to make your winter commute more bearable, by making yourself visible and kitting yourself out to get the better of the elements. This week, we’re talking about getting your bike ready for winter.
Keeping it Clean

Someone didn’t take our advice…
I know it’s boring, but first and foremost, a clean bike is a happy bike, so you want to be giving your two-wheeled friend a regular spruce up. How often you do that will depend on how far and often you ride it, but some say once a week if you’re out and about regularly. Not only will this clean off any corrosive salt from the road, but also debris and oil build up, which can become embedded on components making everything less effective. In particular, under your brakes and on your wheel rims, which clearly you’d like to be working all the time, but you need to be at optimal performance in wet weather.
Brakes
Rain makes everything bike-related more annoying. Apart from soaking you, if you didn’t heed the advice we gave you about kit last week, it makes everything slippery, and reduces the friction between your brakes and your wheels. You know when you brake and it makes that devastating grinding metal sound? Yeah, it’s not supposed to do that. That means your brake pads are either on the wonk, or worn down and in need of replacing. The length of time between changing your brake pads varies greatly depending on use, technique and your tyres, but you should be looking out for grooves on the pads becoming shallow.
Brake pads are pretty cheap, and generally cost under £10. My own Cycling Spirit Guide recommends Kool Stop Salmon brake pads. If you don’t know how to change a brake pad, the internet is your friend and a wealth of tutorials can be found on Youtube, though I’m a big fan of Made Good Bikes for this kind of thing. Alternatively, if you’re lazy, your local bike shop can fit them for you, usually for a relatively low price.
Tyres
I never really know how to tell when it’s time to change a tyre, but if you’ve started getting a lot of punctures, then that might be a sign. Road bike tyres can puncture pretty easily if you’re careless about potholes and the like, so invest in something robust or, er, be less careless (not always easy when you see the state of some roads…). My pal recommends Schwalbe Durano Plus.
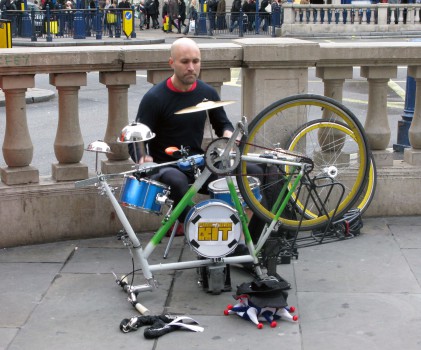
Another possible use for your punctured bike
It might also be a sign that you’re not pumping up your tyres often enough. Well-inflated tyres help deflect pesky, puncture-causing debris, promote better grip and just make pedalling easier, which we can all appreciate, so you should be pumping them up at least every fortnight if you’re using your bike every day. Even if you’re not, air can be escaping from your tyres just as your bike sits in your hallway, so be aware. Get a track pump, everything else is utterly useless. If you don’t have one, again, your local bike shop is probably kind enough to have one outside, which you can use.
When you change a tyre, if it’s in decent enough condition, stick your front tyre on your back wheel and the new one on the front, where you want better grip lest you lose traction turning a corner. In this scenario, its better if your back wheel goes first, from which you are less likely to find yourself in a heap on the floor than if it’s your front wheel.
Mud guards
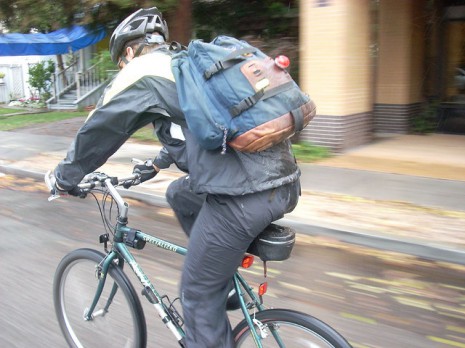
This is not a good look
Some people tell me that mud guards aren’t very cool. Well, I’d venture that they’re significantly cooler than turning up at work looking like last night’s dodgy curry has repeated on you in the most unfortunate of ways. The roads are filthy, and after a heavy dousing, all that filth is spraying off your wheels and over your rear, in particular. Even if you don’t care, I guarantee the person cycling behind you does, because it’s also spraying over their face.

